
Welcome to our comprehensive guide on how to roast green coffee beans at home. If you’re a coffee enthusiast looking to elevate your home brewing experience, roasting your own coffee beans is an excellent way to achieve the freshest and most flavorful cup of coffee possible.
In this article, we will walk you through the step-by-step process of roasting green coffee beans at home, providing valuable insights and tips.
Understanding Green Coffee Beans
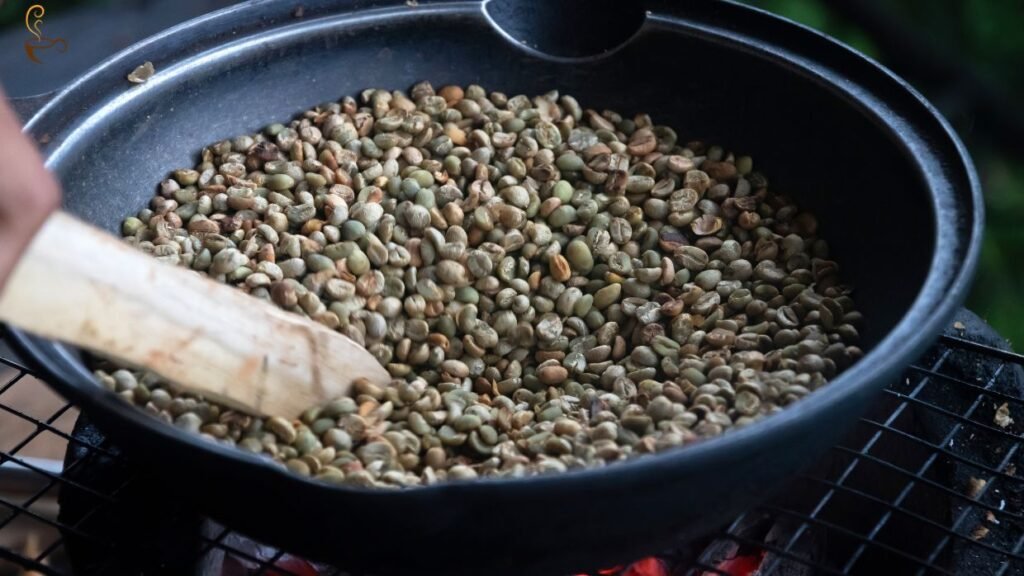
Before we move on to the roasting process, let’s take a moment to understand what green coffee beans are. Green coffee beans are unroasted coffee beans that possess a pale green color and are the raw form of what eventually becomes the aromatic and flavorful beans we associate with our favorite coffee beverages.
Unlike the familiar dark brown beans we see at coffee shops, green coffee beans offer a blank canvas for coffee enthusiasts to explore and experiment with different flavors and profiles. These beans are sourced from coffee farms worldwide and undergo a careful selection process to ensure their quality.
Green coffee beans contain essential compounds such as caffeine, antioxidants, and acids that contribute to the complex flavors and characteristics of the final brewed coffee.
By understanding the unique properties of green coffee beans, coffee lovers can appreciate the transformation that occurs during the roasting process and gain a deeper appreciation for the art of coffee roasting and brewing.
Selecting the Right Green Coffee Beans
To start your roasting journey, it’s important to source high-quality green coffee beans. Look for reputable suppliers who offer a wide variety of beans from different regions and farms.
Opt for beans that are ethically sourced and have undergone strict quality control measures. This ensures that you are working with beans that are fresh, flavorful, and free from defects.
Equipment and Tools
To roast green coffee beans at home, you’ll need the following equipment and tools:
- Coffee Roaster: Invest in a quality coffee roaster that suits your needs and budget. There are various types available, including air roasters, drum roasters, and stovetop roasters. Choose one that provides precise temperature control and even heat distribution.
- Green Coffee Bean Cooler: A bean cooler helps rapidly cool down the beans after roasting, preventing them from overcooking and maintaining their desired flavors.
- Colander or Sieve: You’ll need a colander or sieve to remove any chaff or husks that separate from the beans during roasting.
- Measuring Scale: Accurate measurements are crucial for achieving consistent roasting results. Invest in a digital scale to weigh your green coffee beans before and after roasting.
Step-by-Step Process to Roast Green Coffee Beans at Home
Now, let’s dive into the step-by-step process of roasting green coffee beans:
Step 1: Preheat your coffee roaster: Preheat the beans to the desired temperature before adding the beans. This typically ranges between 400°F (204°C) and 450°F (232°C), depending on the roast level you wish to achieve.
Step 2: Add the green coffee beans: Measure the desired amount of green coffee beans using your digital scale and add them to the preheated roaster. Ensure that the beans are evenly spread out for consistent heat distribution.
Step 3: Monitor the roast: Keep a close eye on the color and aroma of the beans as they roast. You’ll notice a transition from green to yellow, followed by various shades of brown. Each stage imparts distinct flavors, so monitoring the roast to achieve your desired taste profile is essential.
Step 4: Listen for the first crack: As the beans roast, you’ll hear a distinct cracking sound known as the first crack. This signifies that the beans are reaching the light roast stage. You can stop the process here if you prefer a light to medium roast. For a darker roast, continue roasting until you achieve the desired flavor.
Step 5: Cool down the roasted beans: Once you’ve reached your desired roast level, quickly transfer the beans to the green coffee bean cooler or a colander. Gently shake or stir the beans to facilitate the cooling process and remove any residual chaff.
Storing and Grinding
Congratulations! You’ve successfully roasted your own green coffee beans. Now, it’s important to store and grind them properly to preserve their freshness and flavors:
- Cool and degas: Allow the roasted beans to cool completely before storing them. This ensures that excess moisture and carbon dioxide are released, promoting better flavor development. Aim to store the beans for at least 12 to 24 hours before grinding.
- Storage containers: Transfer the roasted beans to airtight containers, preferably made of glass or ceramic, to protect them from moisture, light, and air exposure. Store the containers in a cool, dark place, such as a pantry or cupboard.
- Grinding: Grind the beans just before brewing for the freshest coffee experience. Invest in a quality burr grinder and adjust the grind size according to your brewing method.
Final Words
Roasting green coffee beans at home is a rewarding and fulfilling experience for any coffee lover. By following the step-by-step process outlined in this guide, you can unlock a world of unique flavors and aromas, customizing your coffee to suit your taste preferences.
Remember to source high-quality green coffee beans, invest in the right equipment, and experiment with different roast levels to discover your perfect cup of home-roasted coffee.
FAQs
How do I choose the right roast level for my green coffee beans?
The roast level primarily depends on personal preference. Light roasts offer brighter and more acidic flavors, while dark roasts provide a rich and bold taste. Experiment with different roast levels to discover your preferred flavor profile.
Can I roast green coffee beans without a dedicated coffee roaster?
Yes, you can roast green coffee beans without a specialized coffee roaster. Stovetop methods using a skillet or popcorn popper can be effective. However, ensure you closely monitor the beans and have proper ventilation, as the process can produce smoke.
What are the best storage practices for roasted coffee beans?
Store roasted coffee beans in airtight containers made of glass or ceramic to maintain freshness. Keep them away from moisture, light, and air exposure. It’s advisable to grind the beans just before brewing to preserve their flavors.
How long should I let the roasted coffee beans rest before brewing?
It’s recommended to let the roasted beans rest for at least 1 day to 3 days before brewing. This resting period allows the flavors to develop fully and ensures a more balanced and enjoyable cup of coffee.
How long does the roasting process take?
The roasting process typically takes around 10 to 20 minutes, depending on the desired roast level and the specific coffee roaster you’re using. Lighter roasts tend to take less time, while darker roasts require a longer duration.

Dr. Maksud Hassan is a medical doctor by profession and the co-founder of Queek Coffee. He is a coffee lover, and he loves to advise people about the health benefits of coffee.